이 가이드에서는 사고 대응 및 위협 사냥 평가를 강화하는 데 도움이 되는 몇 가지 강력한 도구를 살펴보기로 한다. 이 도구들은 OSQuery와 Kolide Fleet이다.

이미지 원본: OSQUERY 로고
첫 번째 툴 OSQuery를 살펴봅시다.
OSQuery 개요
Github의 공식 리포지토리에 따르면:

오스커리는 ___ SQL___전원___ 운영체제____ 계측, __모니터링__, __analytics___framework이다. 이용가능____리눅스__ , __ macOS________Windows,__ 및 FreeB.SD.
공식 웹사이트는 https://osquery.io이다.
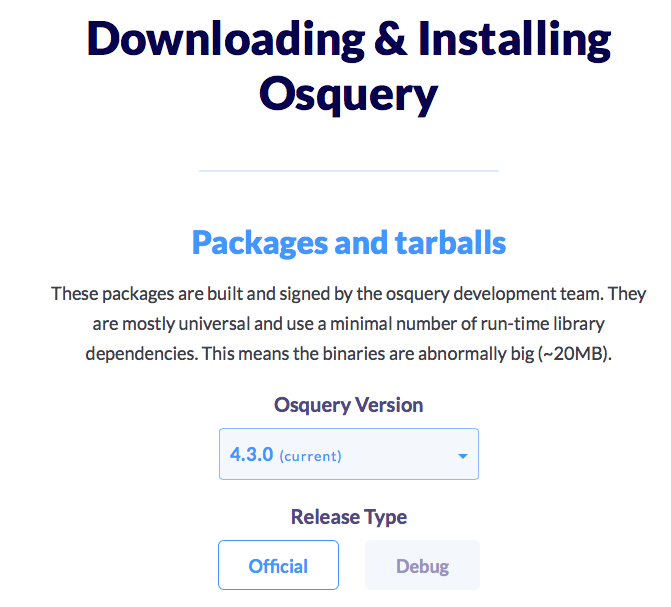
OSQuery를 다운로드하려면 https://osquery.io/downloads/official/4.3.0을 방문하십시오.

시연을 위해 우리는 Ubuntu 18.04 TLS 서버 머신을 사용할 것이다. Ubuntu 서버에 설치하려면 다음 명령을 입력하십시오.
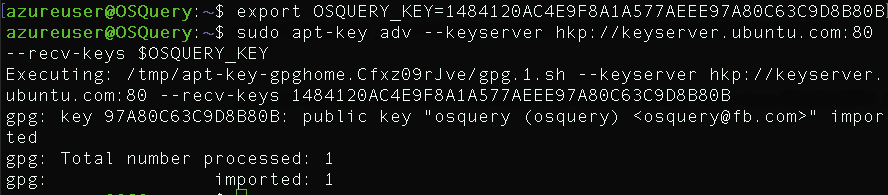
export OSQUERY\_KEY=1484120AC4E9F8A1A577AEEE97A80C63C9D8B80B
sudo apt-key adv --keyserver hkp://keyserver.ubuntu.com:80 --recv-keys $OSQUERY\_KEY

sudo add-apt-repository 'deb [arch=amd64] [https://pkg.osquery.io/deb](https://pkg.osquery.io/deb) deb main'
sudo apt-get update

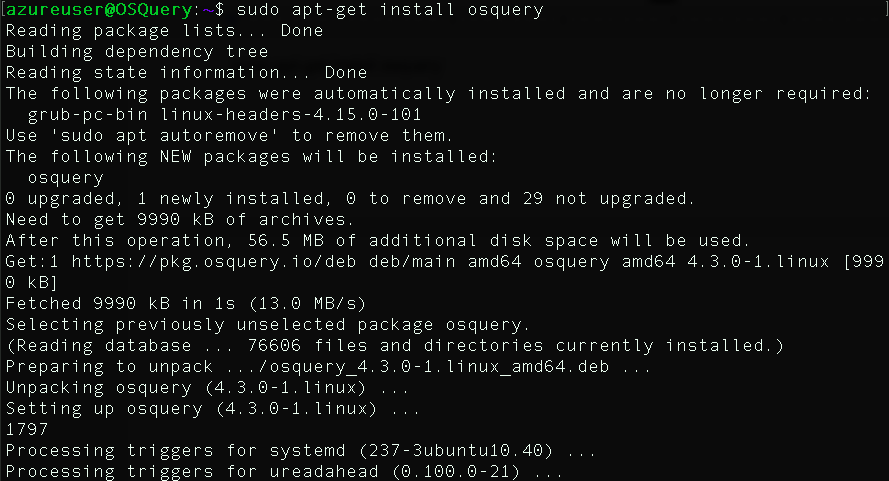
sudo apt-get install osquery

OSQuery는 다음과 같은 모드를 제공한다.
- 오스퀴리: 인터랙티브 셸
- Osqueryd: 데몬
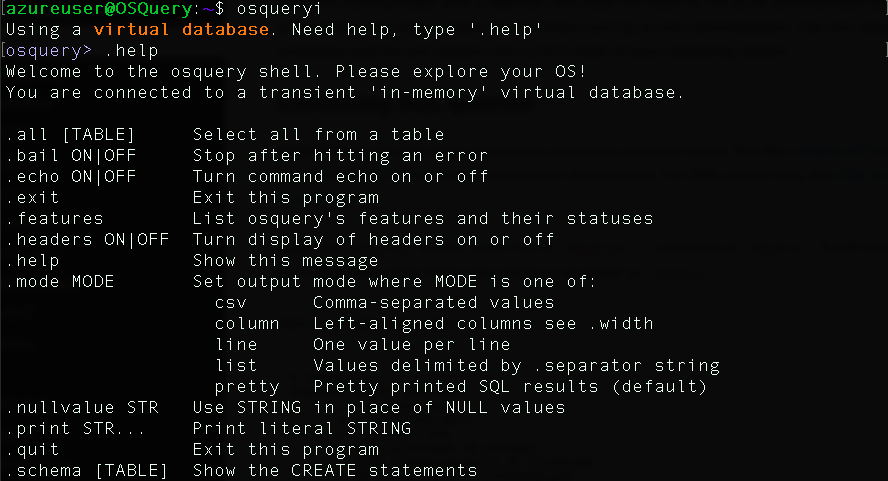
OSQuery 사용을 시작하려면 다음을 입력하십시오.
osqueryi
사용 가능한 명령을 탐색하려면 .help를 입력하십시오.

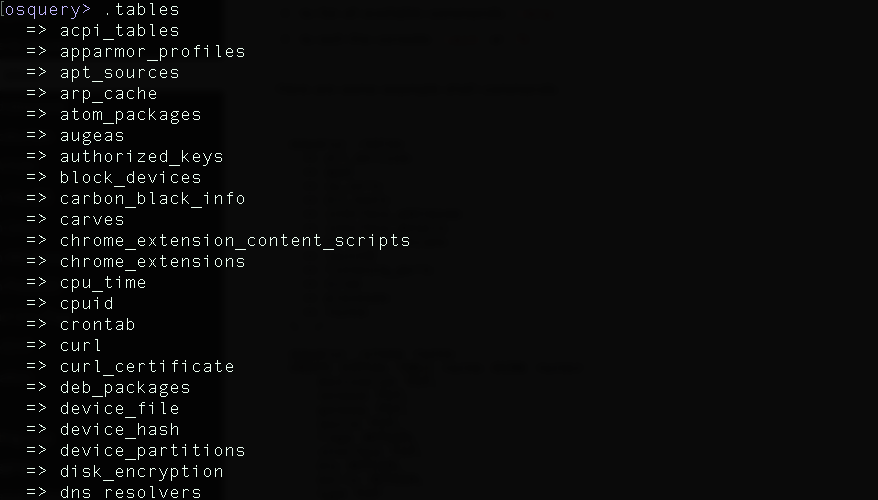
사용 가능한 테이블 유형을 탐색하려면
.tables

To explore the schema of a specific table type
.schema <TABLE_HERE>

For example if you want to get the users type:
select * from users ;

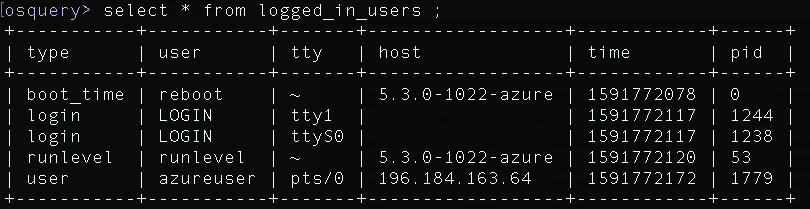
로그인한 사용자를 선택하려면 다음을 입력하십시오.
select * from logged_in_users ;

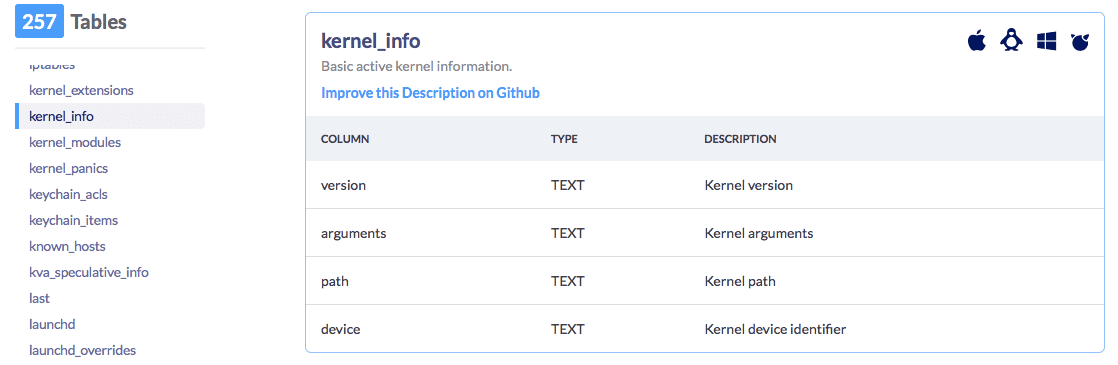
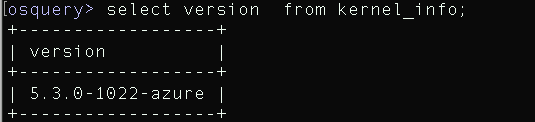
공식 웹사이트는 이용 가능한 모든 테이블의 목록과 그것의 계획을 포함하고 있다. 예를 들어, 이것은 Kernel_info 테이블의 구성표 입니다.
예를 들어 커널 유형의 버전을 선택하는 방법:
select version from Kernel_info

Let's suppose that you want to automate a specific query (selecting users) every 300 seconds. Edit the /etc/osquery/osquery.conf file and add your rules
"schedule": { "Users": { "query": "SELECT * FROM users;", "interval": 300 } },
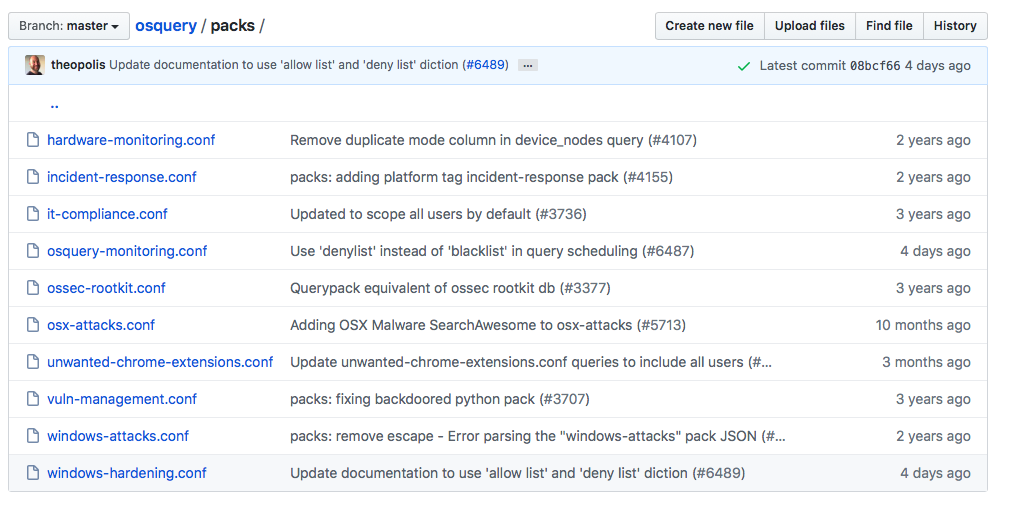
A collection of queries is called a Pack. OSQuery provides many hekpful packs that you can use in your assessments here: https://github.com/osquery/osquery/tree/master/packs

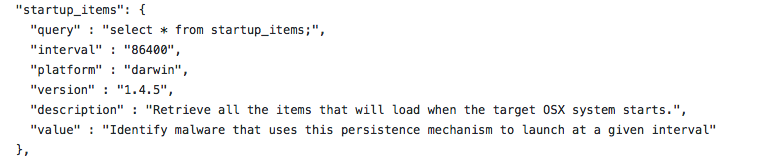
https://github.com/osquery/osquery/blob/master/packs/incident-response.conf에서 MacOS 호스트의 모든 시작 항목을 검색하는 쿼리:
하지만 이제 OSQuery를 대규모 환경에 배치하고 이를 모두 쉽게 관리하려면 어떻게 해야 하는가? 이런 상황에서 우리는 "콜라이드 플리트"라고 불리는 또 다른 강력한 플랫폼이 필요하다.
콜라이드 플리트(OSQuery Management)
:heavy_excrangement_mark: Kolide는 더 이상 Fleet을 유지하고 있지 않다. 새로운 이름은 플리트(Fleat)이며 여기서 찾을 수 있다: https://github.com/fleetdm/fleet

플릿은 가장 널리 사용되는 오픈 소스 삼쿼리 매니저다. 플릿과 함께 osquery를 배치하면 50,000대 이상의 서버, 컨테이너 및 랩톱에서 프로그램 가능한 라이브 쿼리, 스트리밍 로그 및 효과적인 osquery 관리를 할 수 있다. 특히 여러 기기와 동시에 대화할 때 유용하다.

플릿은 가장 널리 사용되는 ___ 오픈소스___ 오스퀴리 플릿 관리인이다. 플리트와 함께 osquery를 배치하면 osquery 인프라의 라이브 쿼리와 효과적인 __ 관리____가 가능하다.

영상 출처: 콜라이드 플리트
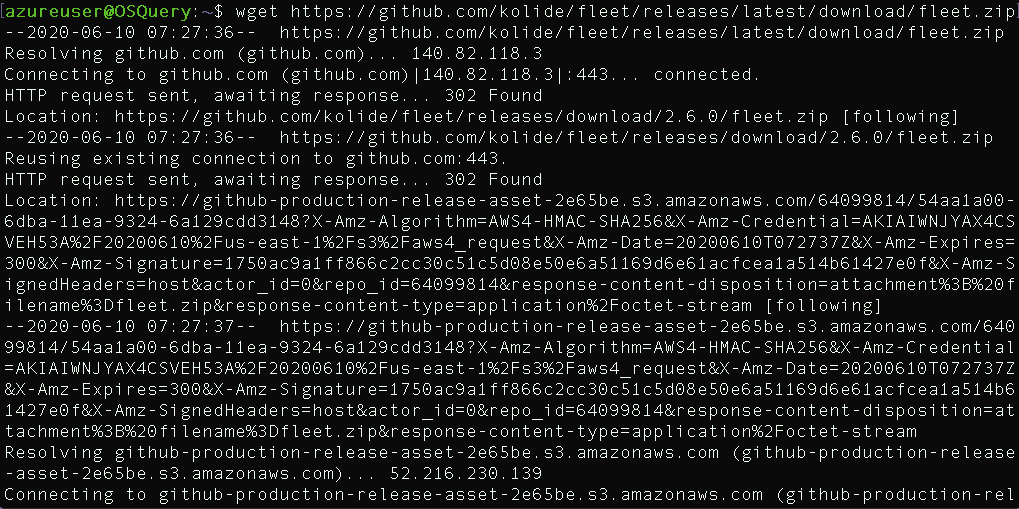
설치하려면 다음 명령을 사용하십시오.
wget https://github.com/kolide/fleet/releases/latest/download/fleet.zip
sudo apt-get install unzip
파일 압축 해제:
sudo unzip fleet.zip

리눅스 폴더 입력:

/usr/bin의 이진 복사
sudo cp * /usr/bin/
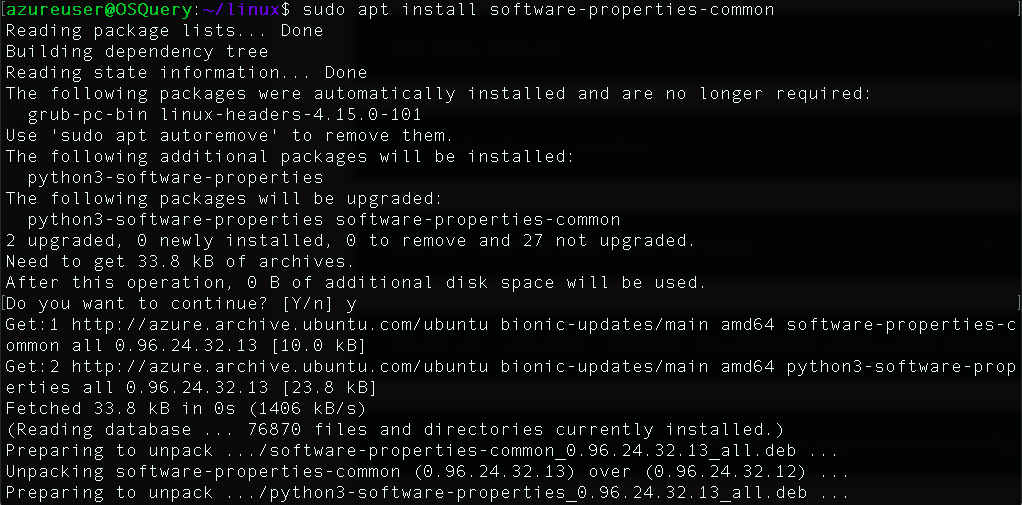
다음 필수 프로그램 설치:
sudo apt install software-properties-common
sudo apt-key adv --recv-keys --keyserver hkp://keyserver.ubuntu.com:80 0xF1656F24C74CD1D8
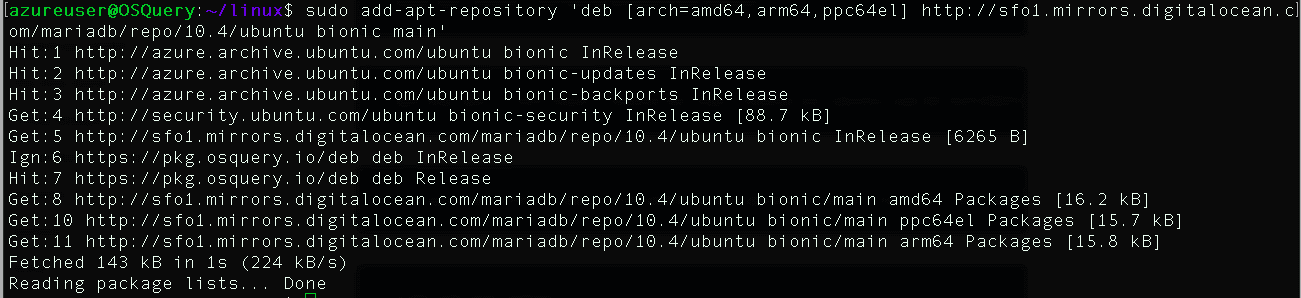
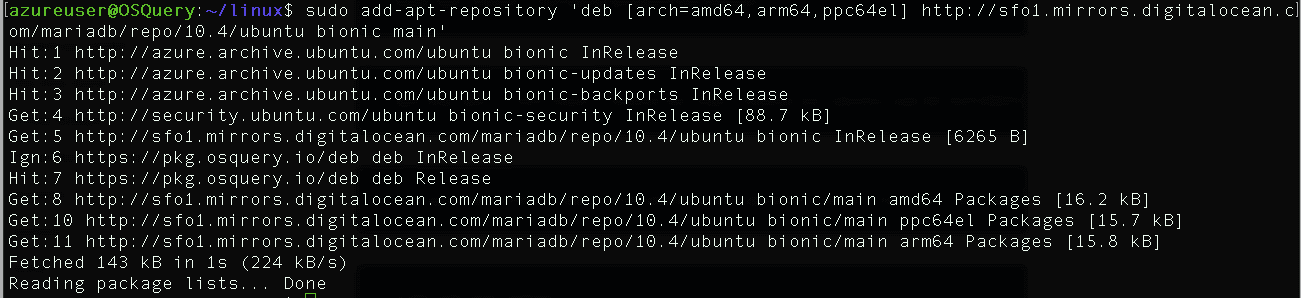
add-apt-repository 'deb [arch=amd64,arm64,ppc64el] http://sfo1.mirrors.digitalocean.com/mariadb/repo/10.4/ubuntu bionic main'
sudo apt-get update

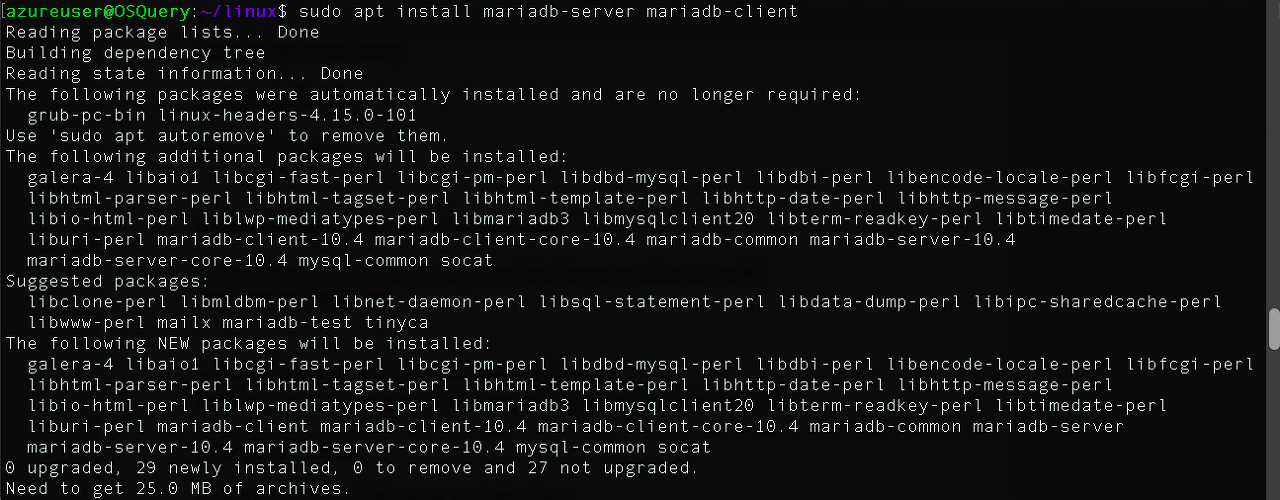
마리아 데이터베이스 서버 및 해당 클라이언트 설치:
sudo apt install mariadb-server mariadb-client

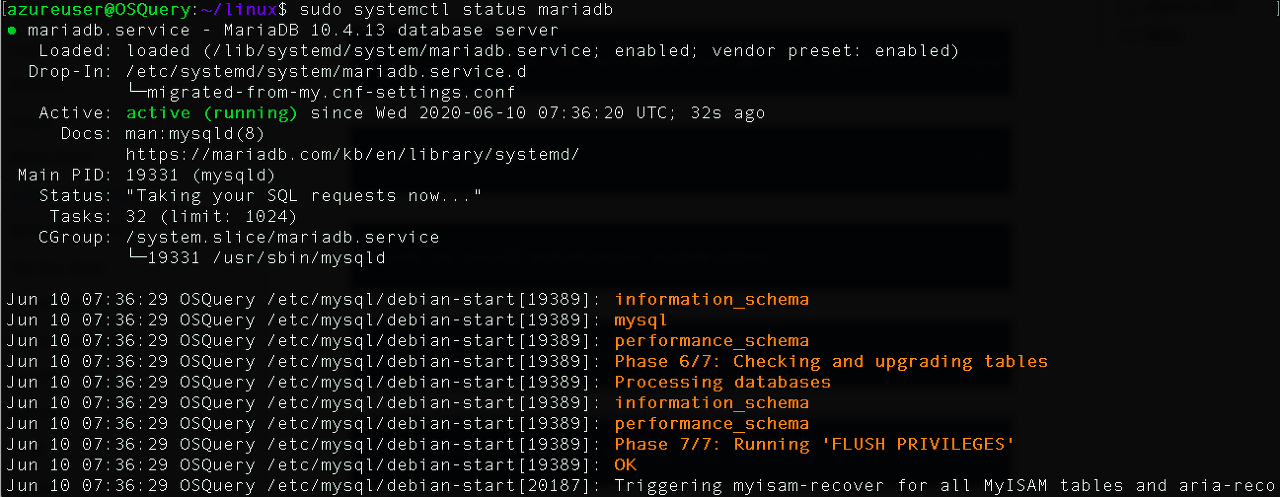
상태 확인:
sudo systemctl status mariadb

Mariadb 서비스 사용:
sudo systemctl is-enabled mariadb

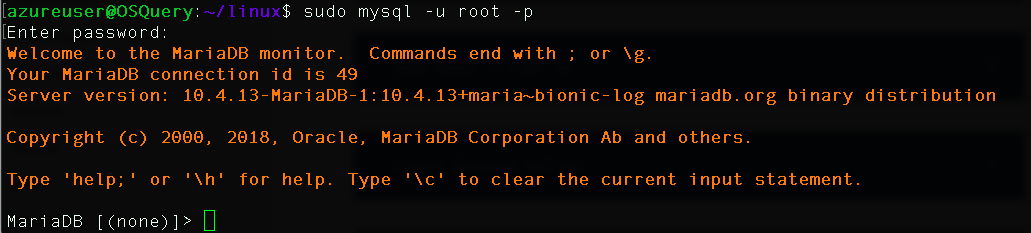
mysql을 입력하고 다음 명령을 입력하십시오.
sudo mysql -u root -p

create database kolide;
grant all on kolide.* to kolideuser@localhost identified by 'Passw0rd!';

flush privileges;
exit
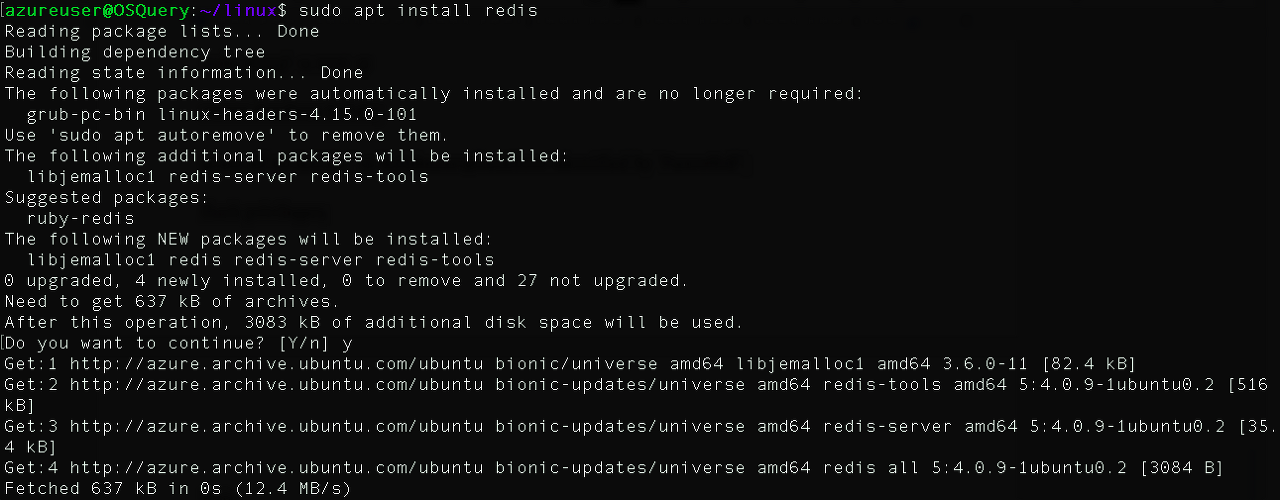
Redis 설치:
sudo apt install redis

비행대 준비:
fleet prepare db --mysql_address=127.0.0.1:3306 --mysql_database=kolide --mysql_username=kolideuser --mysql_password=Passw0rd!
fleet serve --mysql_address=127.0.0.1:3306 \
--mysql_database=kolide --mysql_username=kolideuser --mysql_password=Passw0rd! \
--server_cert=/etc/ssl/certs/kolide.cert --server_key=/etc/ssl/private/kolide.key \
--logging_json

sudo fleet serve --mysql_address=127.0.0.1:3306 \ --mysql_database=kolide --mysql_username=kolideuser --mysql_password=Passw0rd! \ --server_cert=/etc/ssl/certs/kolide.cert --server_key=/etc/ssl/private/kolide.key \ --logging_json --auth_jwt_key=9yKI2MeThUSLtsYiCS7etUSJZD1lgHLr
시작 비행대:

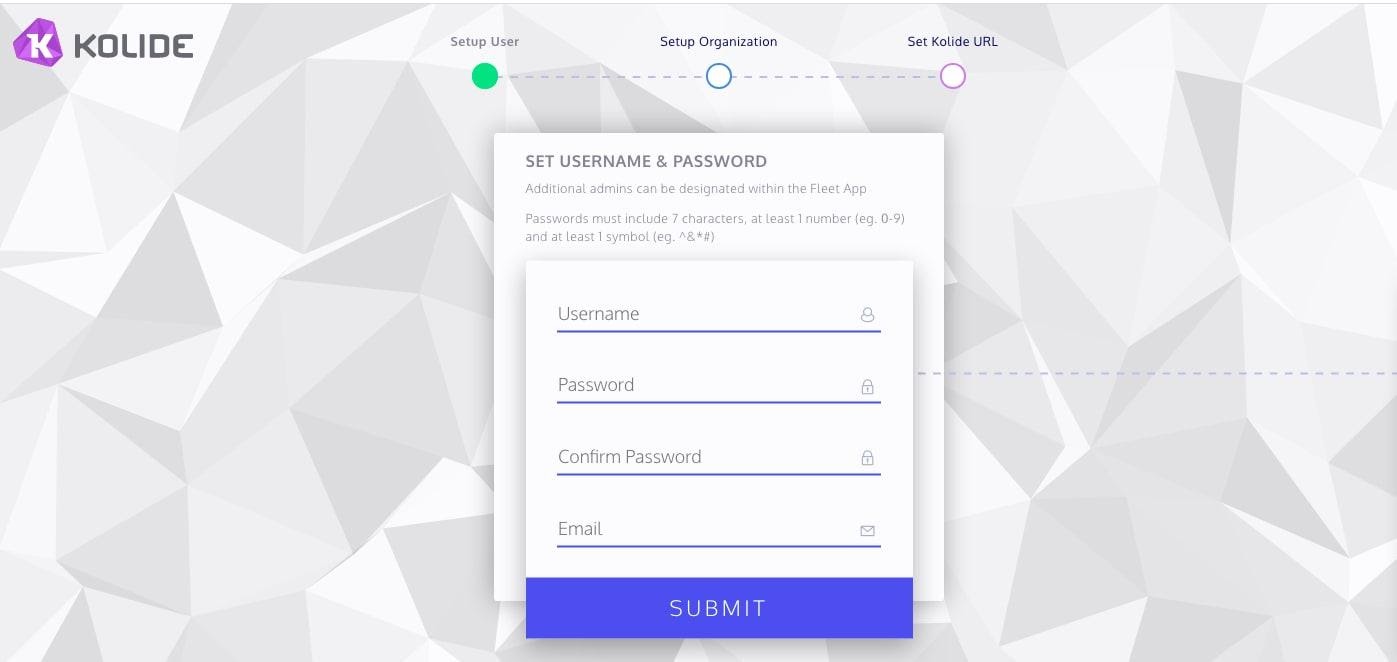
https:///\<SERVER_로 이동IP\>:8080
사용자 이름, 암호 및 전자 메일 제공

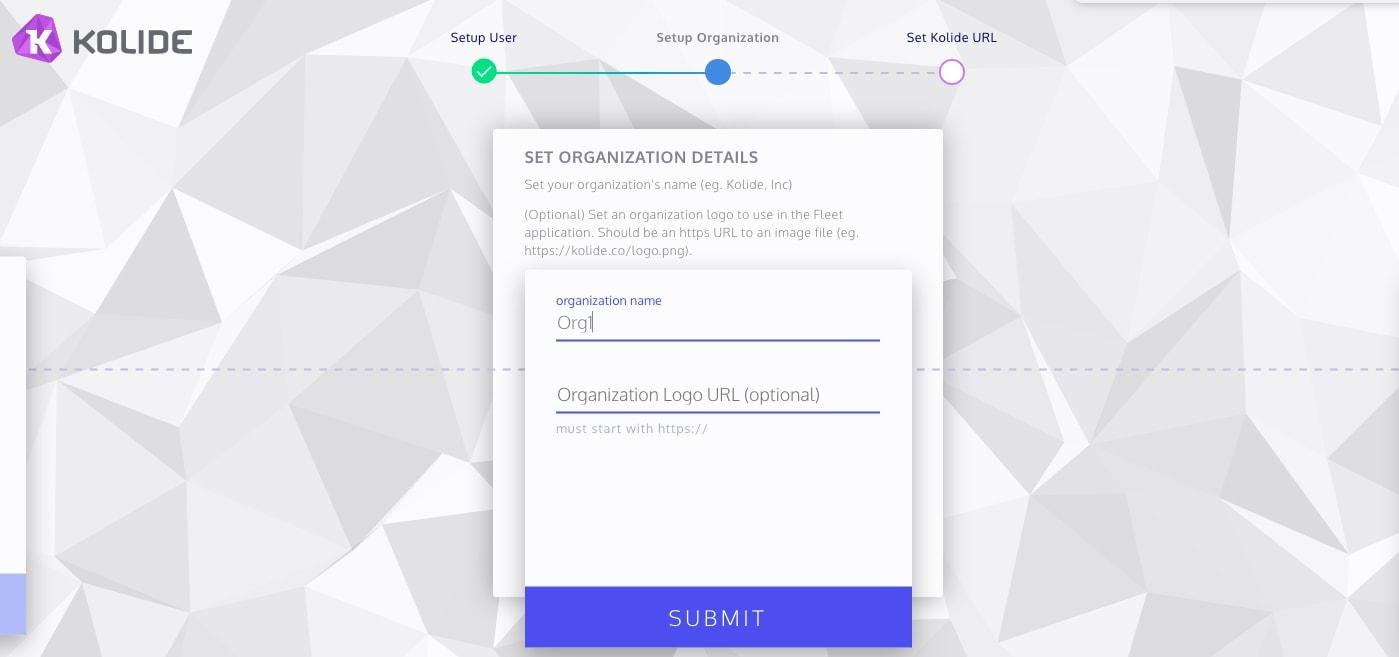
조직 이름, 조직 도메인 이름/IP를 추가하고 다음을 제출하십시오.

발사! 콜리드 함대가 성공적으로 배치되었다.

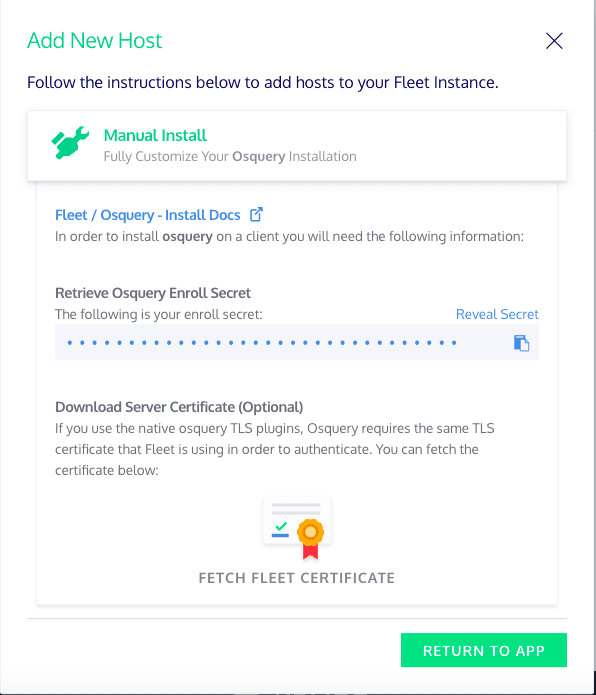
이제 우리의 호스트를 추가하자. 이렇게 하려면 "ADD NEW HOST"를 클릭하면 이 창이 나타난다. 그것은 우리가 나중에 사용할 "OSQuery 등록 비밀"이라는 키를 제공한다.
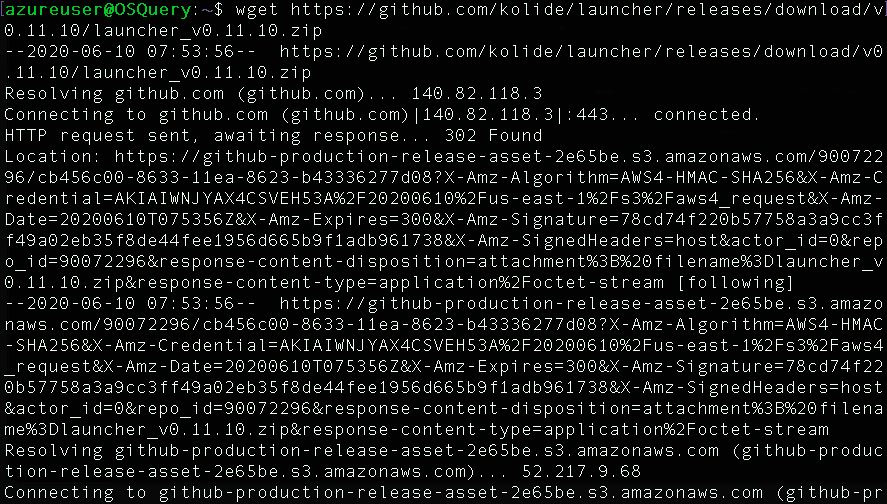
숙주를 추가하려면 함대 발사대를 설치해야 한다. 우리의 경우 우리는 같은 호스트를 사용하고 있다.
wg get https://github.com/kolide/launcher/releases/download/v0.11.10/launcher_v0.11.10.zip
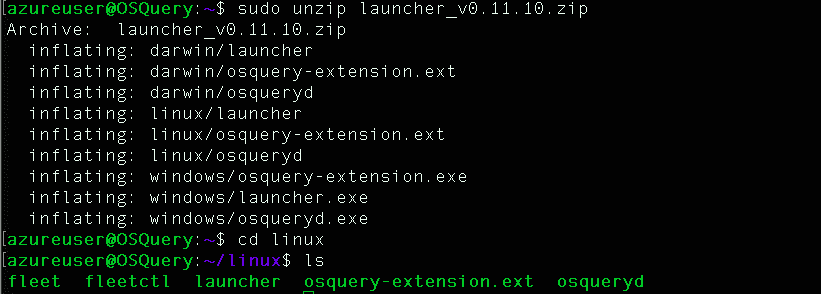
파일 압축 해제:
sudo unzip launcher\_v0.11.10.zip

리눅스 파일 입력:
cd linux
실행 프로그램 시작
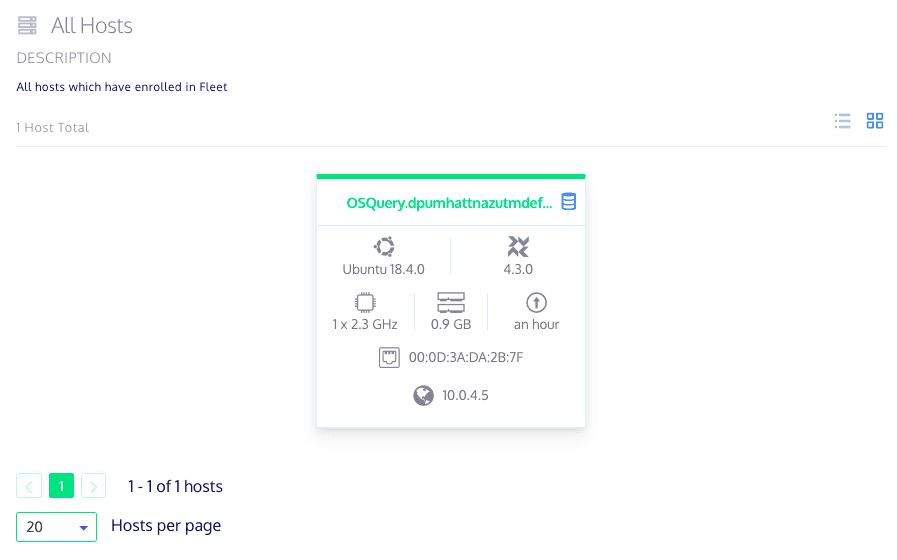
./launcher --hostname=127.0.0.1:8080 --root_directory=$(mktemp -d) --enroll_secret=<COPY SECRET KEY HERE> --insecure
축하해! 콜라이드 비행대 대시보드를 새로 고치면 새로 추가된 호스트가 보일 거야.

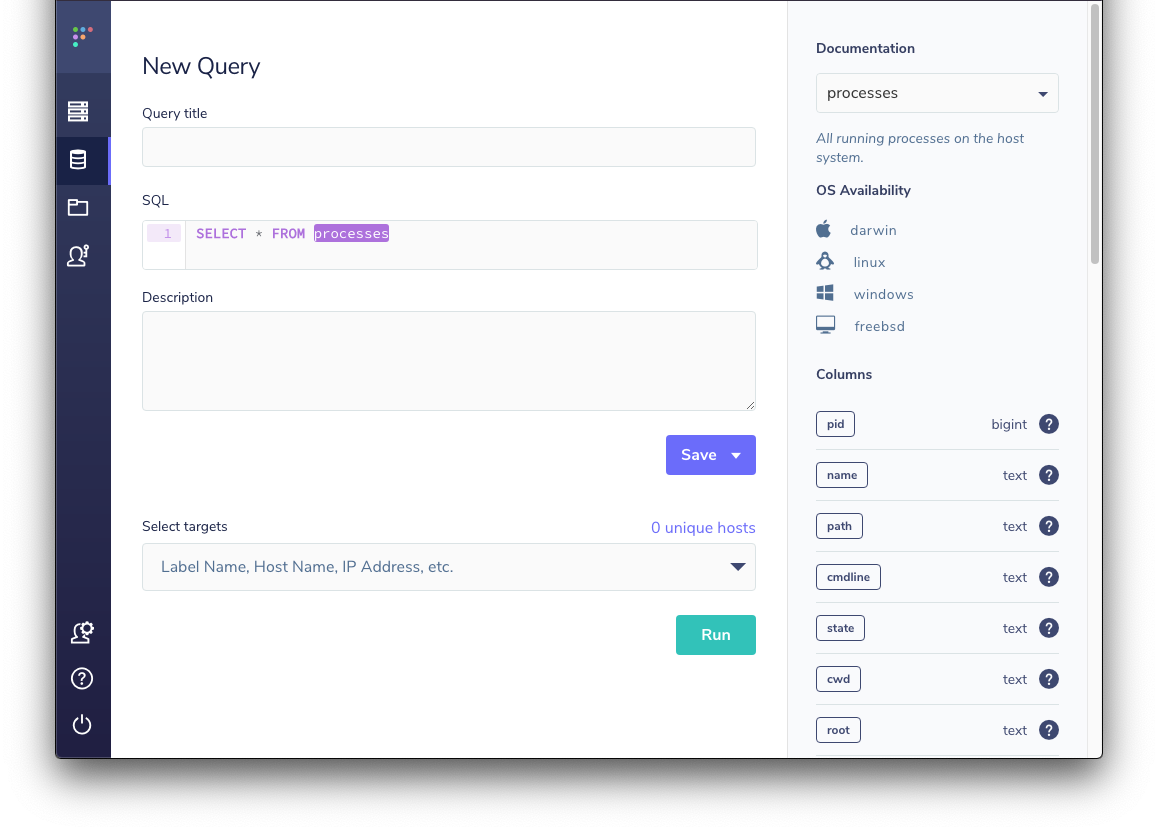
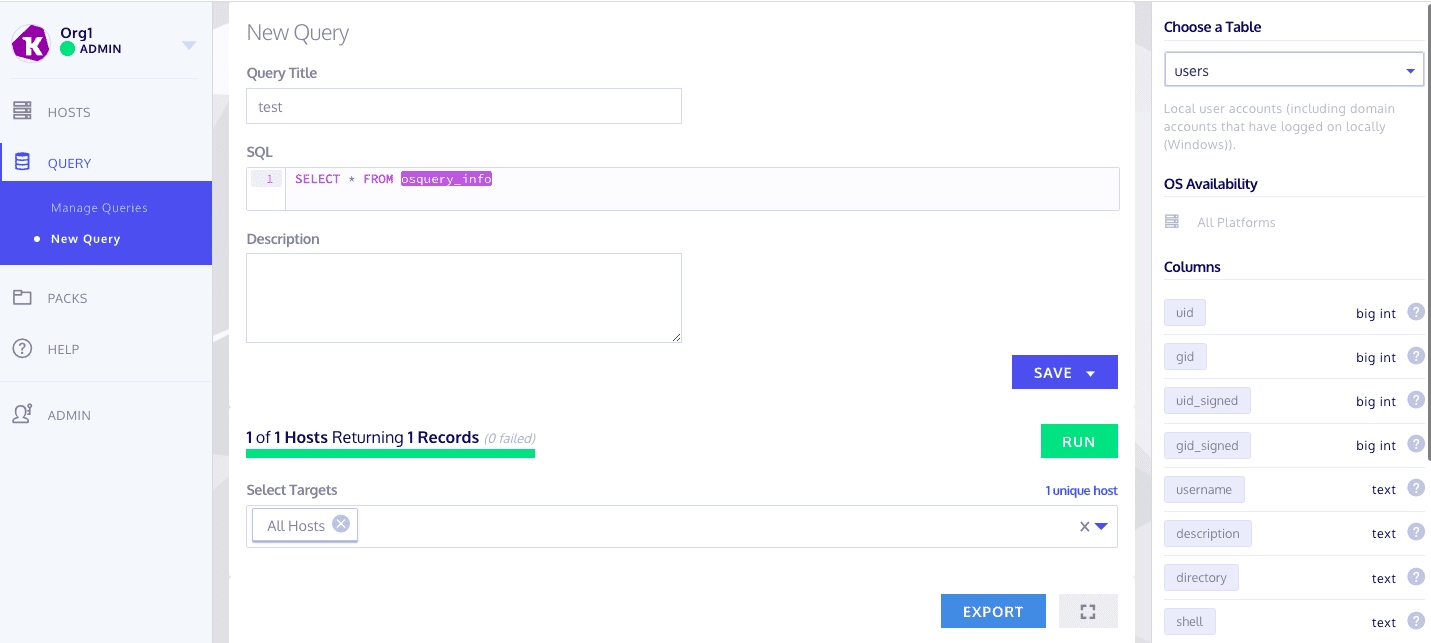
쿼리를 실행하고 추가하려면 [쿼리] -\] [새 쿼리]로 이동하십시오.
SQL 조회 입력

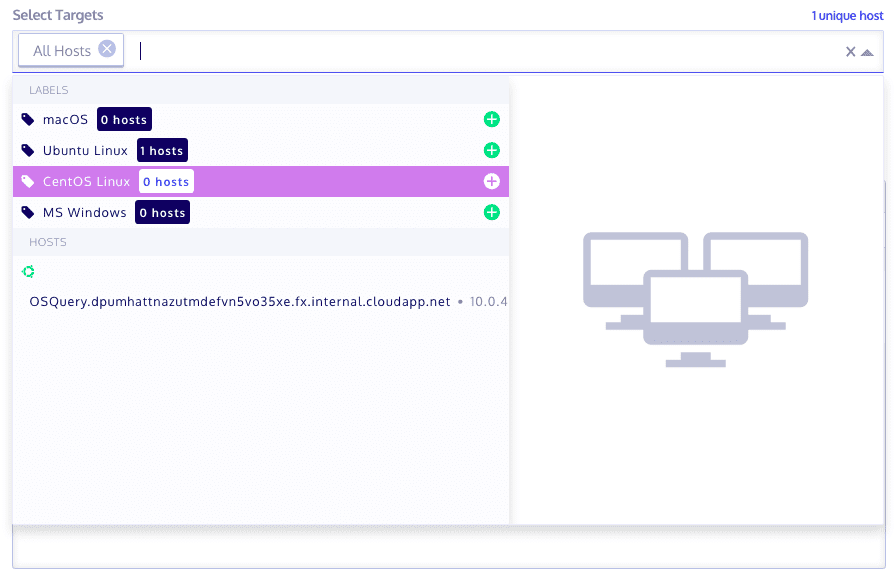
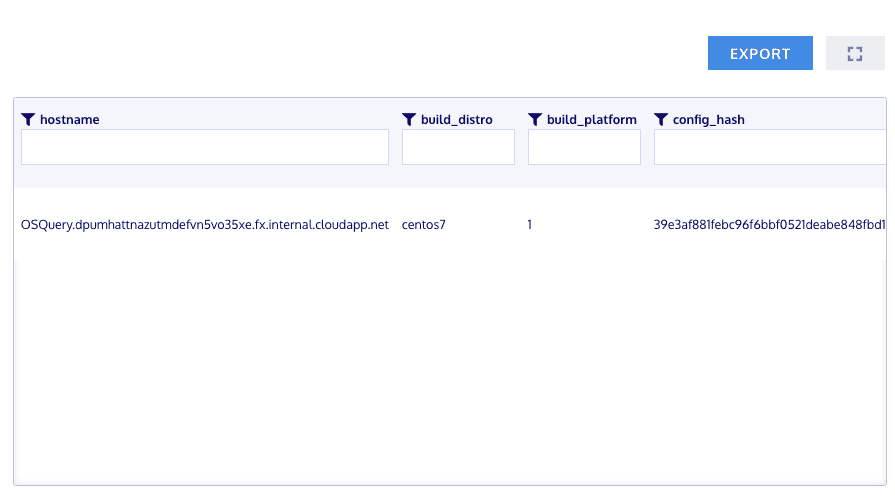
대상/호스트 선택
"실행"을 클릭하십시오. 아래 쿼리 출력:

참조
- https://medium.com/@sroverts/osquery-101-fair-78e063c4e2f7
- https://www.digitalocean.com/community/tutorials/how-to-monitor-your-system-security-with-osquery-on-ubuntu-16-04
Incident Response and Threat hunting with OSQuery and Fleet
In this guide, we are going to explore some powerful tools to help you enhance your incident response and threat hunting assessments. These tools are OSQuery and Kolide Fleet.

Image source: OSQUERY logo
Let's start exploring the first tool OSQuery
OSQuery Overview
According to its official Github repository:

Osquery is a __ __ SQL __ __ powered __ __ operating system __ __ instrumentation, __ __ monitoring __, and__ __analytics__ __framework. It is Available for__ __Linux__ , __ __ macOS __,__ __Windows,__and FreeBSD.
Its official website is https://osquery.io

To download OSQuery visit: https://osquery.io/downloads/official/4.3.0
For the demonstration, we are going to use a Ubuntu 18.04 TLS server machine. To install it on our Ubuntu server type the following commands:
export OSQUERY\_KEY=1484120AC4E9F8A1A577AEEE97A80C63C9D8B80B
sudo apt-key adv --keyserver hkp://keyserver.ubuntu.com:80 --recv-keys $OSQUERY\_KEY
sudo add-apt-repository 'deb [arch=amd64] [https://pkg.osquery.io/deb](https://pkg.osquery.io/deb) deb main'

sudo apt-get update
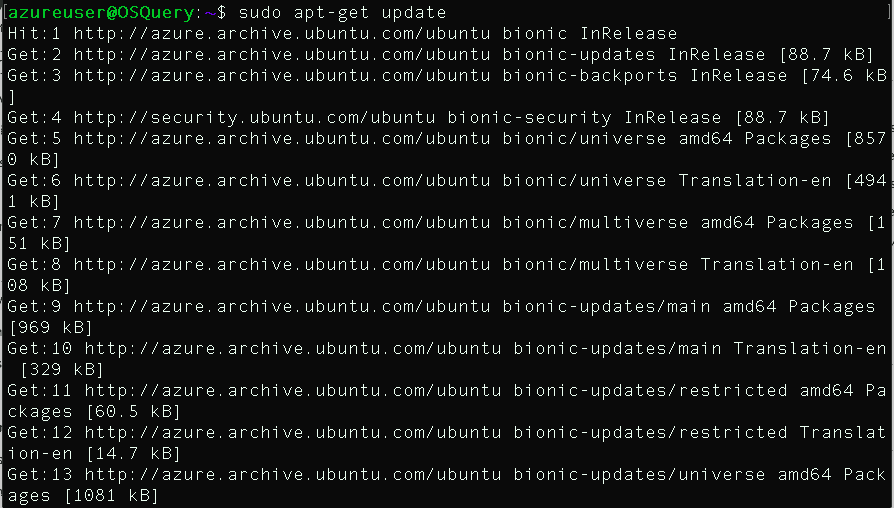
sudo apt-get install osquery
OSQuery delivers these modes:
- Osqueryi: Interactive shell
- Osqueryd: Deamon
To start using OSQuery simply type:
osqueryi
To explore the available commands type .help
To explore the available tables type
.tables
To explore the schema of a specific table type
.schema <TABLE_HERE>

For example if you want to get the users type:
select * from users ;

To select loggedin users type:
select * from logged_in_users ;
The official website contains the list of all the available tables and its schemes. For example this is the scheme of Kernel_info table

For example to select the version of the kernel type:
select version from Kernel_info
Let's suppose that you want to automate a specific query (selecting users) every 300 seconds. Edit the /etc/osquery/osquery.conf file and add your rules
"schedule": { "Users": { "query": "SELECT * FROM users;", "interval": 300 } },
A collection of queries is called a Pack. OSQuery provides many hekpful packs that you can use in your assessments here: https://github.com/osquery/osquery/tree/master/packs
This is a query from https://github.com/osquery/osquery/blob/master/packs/incident-response.conf that retreive all the startup items in MacOS hosts:

But now, what to do if we want to deploy OSQuery in large scale environments and we want to manage them all easily. In this situation we need another powerful platform called "Kolide Fleet"
Kolide Fleet (OSQuery Management)
:heavy_exclamation_mark: Kolide is no longer maintaining Fleet. The new name is Fleet and can be found here: https://github.com/fleetdm/fleet

Fleet is the most widely used open source osquery manager. Deploying osquery with Fleet enables programmable live queries, streaming logs, and effective management of osquery across 50,000+ servers, containers, and laptops. It's especially useful for talking to multiple devices at the same time.
According to its official Github repository:
Fleet is the most widely used __ __ open-source __ __ osquery Fleet manager. Deploying osquery with Fleet enables live queries, and effective __ __ management __ __ of osquery infrastructure.
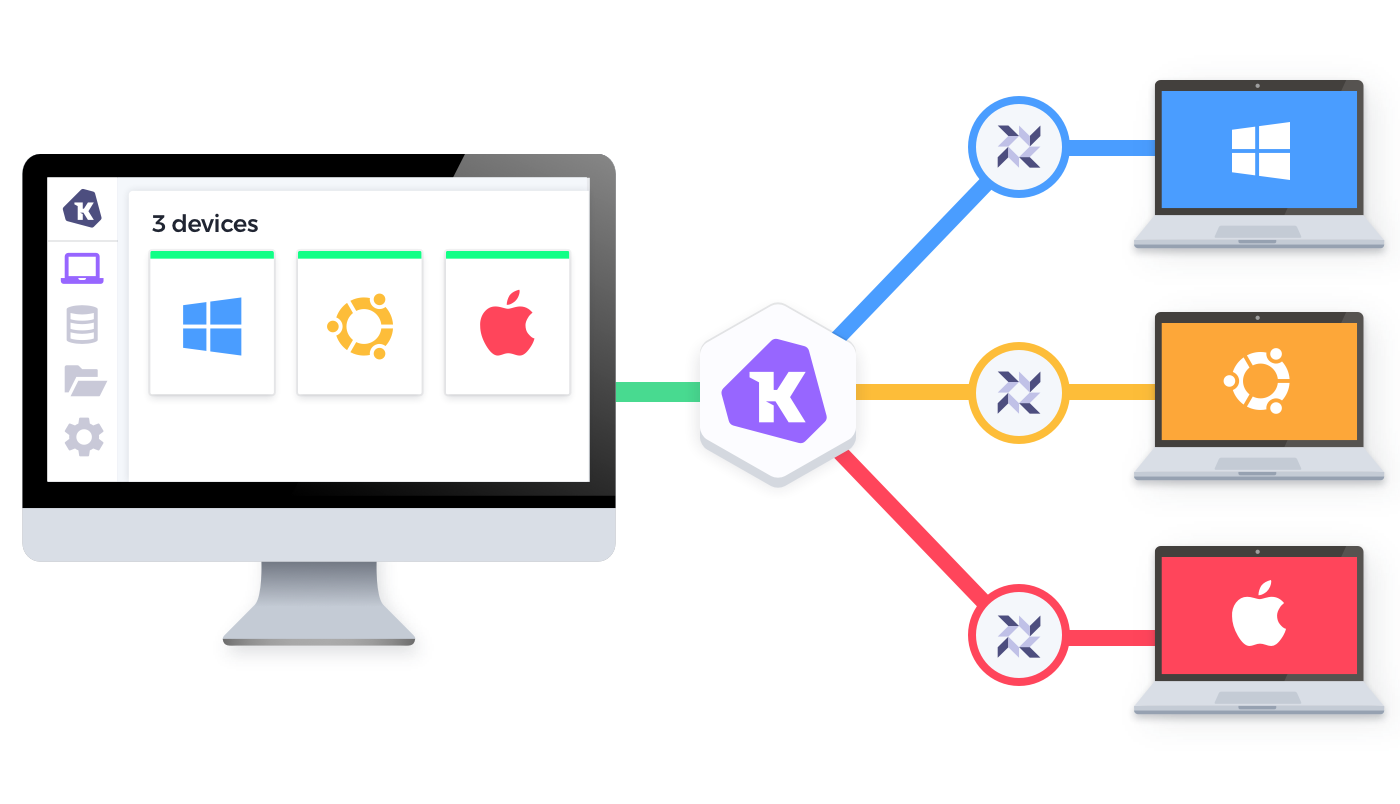
Image source: Kolide fleet
To install it use the following commands:
wget https://github.com/kolide/fleet/releases/latest/download/fleet.zip

sudo apt-get install unzip
Unzip the file:
sudo unzip fleet.zip

Enter the linux folder:

Copy the binaries in /usr/bin
sudo cp * /usr/bin/
Install this required program:
sudo apt install software-properties-common

sudo apt-key adv --recv-keys --keyserver hkp://keyserver.ubuntu.com:80 0xF1656F24C74CD1D8
add-apt-repository 'deb [arch=amd64,arm64,ppc64el] http://sfo1.mirrors.digitalocean.com/mariadb/repo/10.4/ubuntu bionic main'

sudo apt-get update

Install Maria database server and its client:
sudo apt install mariadb-server mariadb-client
Check its status:
sudo systemctl status mariadb
Enable Mariadb service:
sudo systemctl is-enabled mariadb

Enter mysql and type the following commands:
sudo mysql -u root -p
create database kolide;
grant all on kolide.* to kolideuser@localhost identified by 'Passw0rd!';

flush privileges;
exit
Install Redis:
sudo apt install redis
Prepare fleet:
fleet prepare db --mysql_address=127.0.0.1:3306 --mysql_database=kolide --mysql_username=kolideuser --mysql_password=Passw0rd!
fleet serve --mysql_address=127.0.0.1:3306 \
--mysql_database=kolide --mysql_username=kolideuser --mysql_password=Passw0rd! \
--server_cert=/etc/ssl/certs/kolide.cert --server_key=/etc/ssl/private/kolide.key \
--logging_json
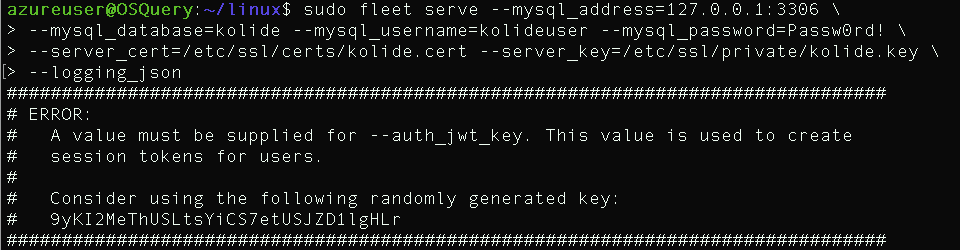
sudo fleet serve --mysql_address=127.0.0.1:3306 \ --mysql_database=kolide --mysql_username=kolideuser --mysql_password=Passw0rd! \ --server_cert=/etc/ssl/certs/kolide.cert --server_key=/etc/ssl/private/kolide.key \ --logging_json --auth_jwt_key=9yKI2MeThUSLtsYiCS7etUSJZD1lgHLr
Start fleet:

Go to https://\<SERVER_IP\>:8080
Provide your username, password and email
Add your organization name, the organization domain name/IP and submit:
Voila! Kolide fleet is deployed successfully.

Now let's add our host. To do so, click on "ADD NEW HOST" and you will get this window. It provides a key called "OSQuery enroll secret" that we are going to use later.

To add the host, we need to install the fleet launcher. In our case we are using the same host.
wget https://github.com/kolide/launcher/releases/download/v0.11.10/launcher_v0.11.10.zip

Unzip the file:
sudo unzip launcher\_v0.11.10.zip
Enter the Linux file:
cd linux
Start the launcher
./launcher --hostname=127.0.0.1:8080 --root_directory=$(mktemp -d) --enroll_secret=<COPY SECRET KEY HERE> --insecure
Congratulation! if you refresh the Kolide fleet dashboard you will see the newly added host
To run and add queries go to QUERY -\> New Query
Type the SQL Query
Select the targets/hosts

Click on "Run". You will get the query outputs below:
References
※ 출처 : Blue Teams Academy | www.blueteamsacademy.com/?fbclid=IwAR0h-Vz8PtKLuStF5NEb9niYf07zYmRm2FPEioOt8AG03o9rgbhiYDMRhj8


댓글